It’s very common to set up email after completing your WordPress installation. For many people, this step can feel overwhelming — not because it’s difficult, but because it’s often done the wrong way. In this guide, I’ll show you how to easily set up and test SMTP in WordPress, step by step. By the end, your website will be ready to send emails reliably and without any hassle.
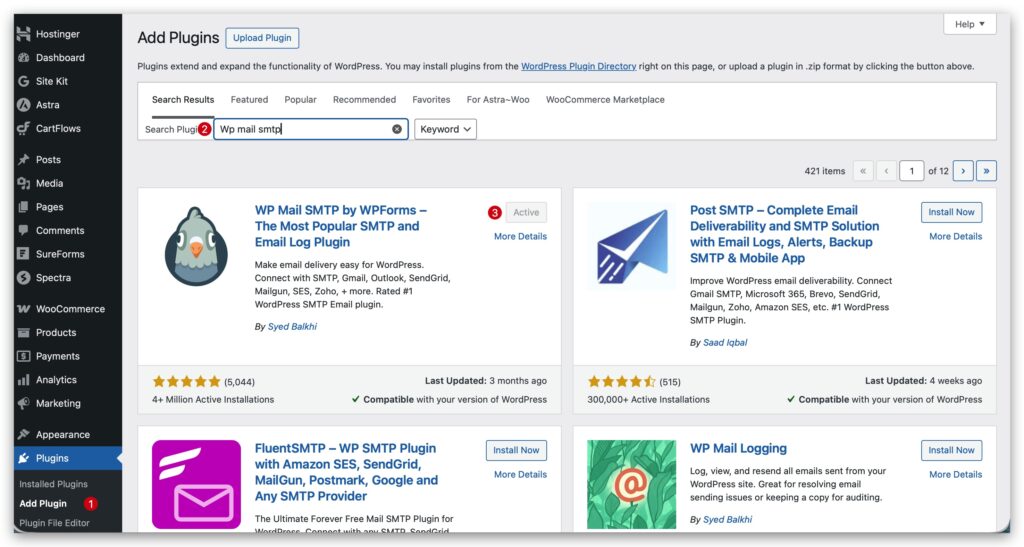
First, you need to install and activate the WP Mail SMTP plugin. It is one of the most popular and free plugins available for WordPress. To install the plugin, go to Plugins → Add New in your WordPress dashboard. In the search bar, type WP Mail SMTP. Once you find the plugin, click Install Now, and after the installation is complete, click Activate.
Now that the plugin is installed and activated, go to WP Mail SMTP → Settings from your WordPress dashboard. This is where you’ll configure your email settings and connect your SMTP provider. I’m providing the full screenshot of the WP Mail SMTP Settings page below for reference.
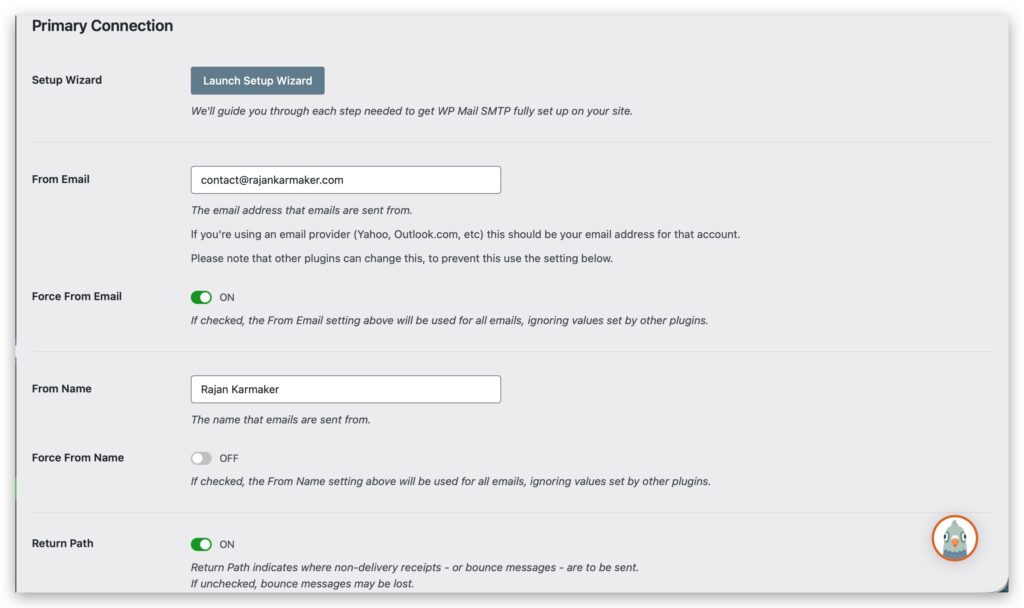
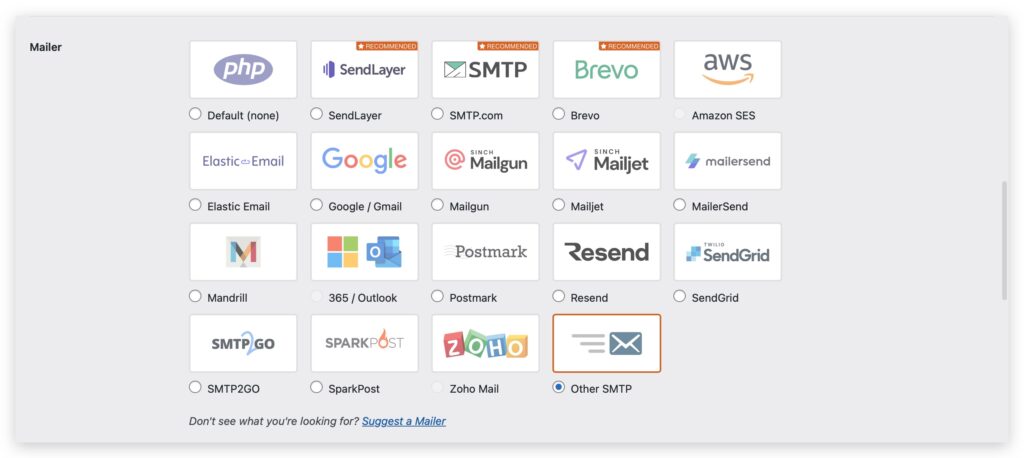

Set up the form exactly as shown in the screenshot. Make sure to enter your own information into the text fields, including:
From Email – the email address you want your site to send from
From Name – the name you want emails to appear from
SMTP Host – your email provider’s SMTP server
SMTP Username – your email account username
SMTP Password – your email account password
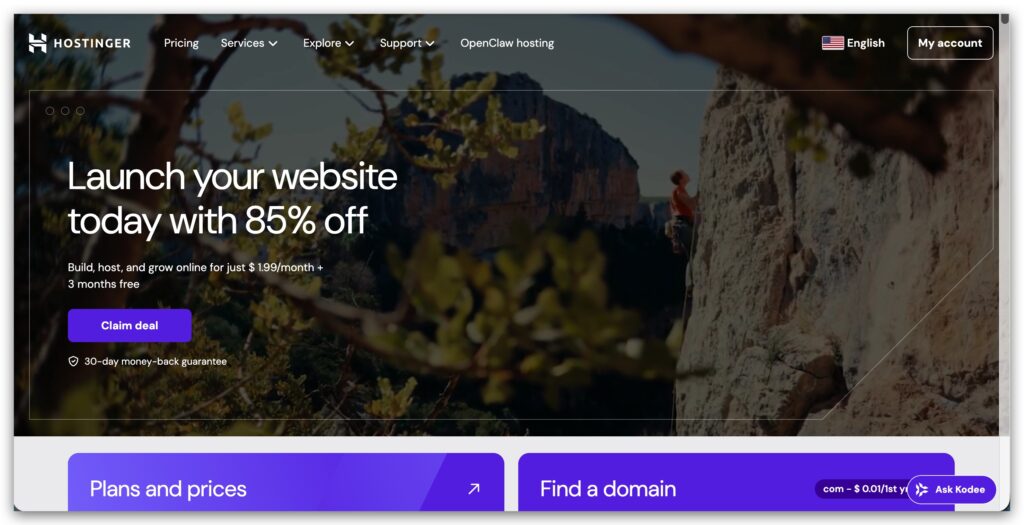
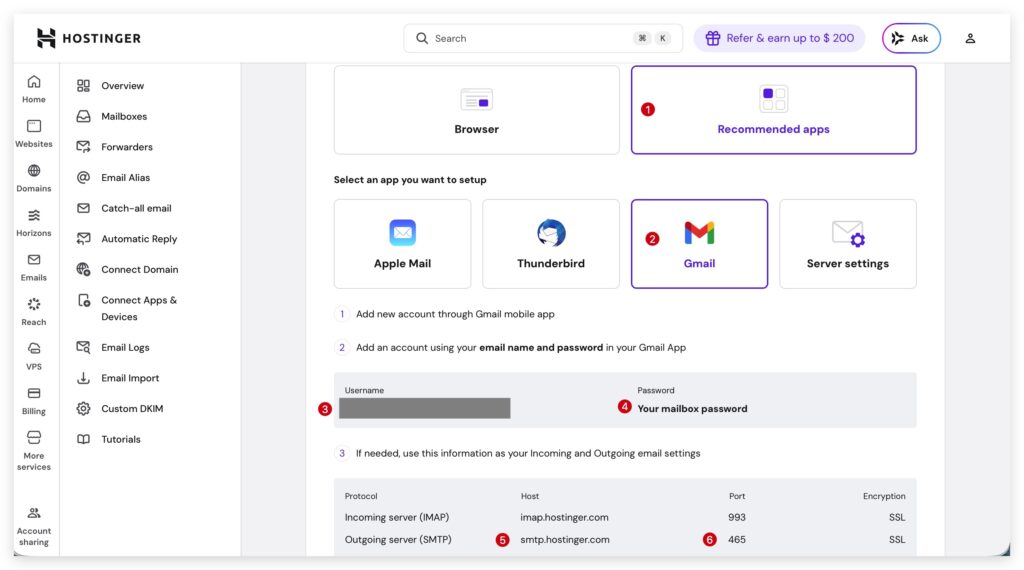
Leave all other settings as they are. This ensures your WordPress emails are sent correctly. Below, I’ll show you an example of where to find these details in Hostinger. If you’re using a different hosting provider or email server, you’ll need to locate the SMTP settings yourself or contact your hosting provider for help.
Go to Hostinger → Mailboxes, then select Recommended Apps and choose Gmail. Below, you will find your SMTP Host, Port, Username, and Password. Copy this information and enter it into the corresponding fields on the WP Mail SMTP settings page. Then, click Save Settings.
Congratulations! 🎉 You’ve successfully set up SMTP on your WordPress site, and your emails should now send reliably.
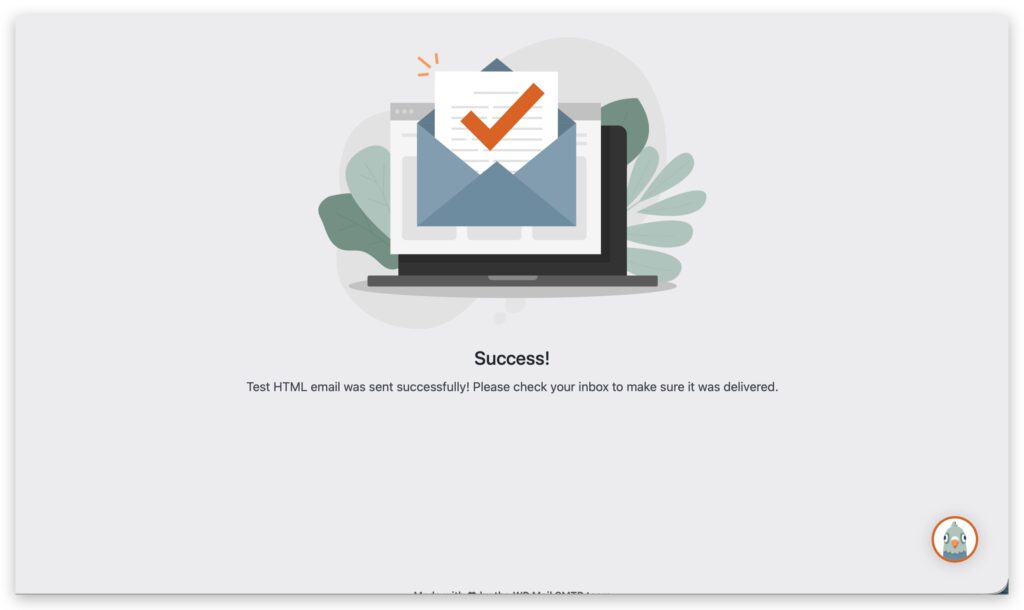
Now we need to test if your setup is working properly. Go to WP Mail SMTP → Tools in your WordPress dashboard. In the Send To field, enter an email address where you want to receive the test email, then click Send Email.

If everything is set up correctly, you should see a success message, and the test email will arrive in your inbox. ✅ If you encounter any errors, it means some settings were entered incorrectly. Double-check all the fields — From Email, From Name, SMTP Host, SMTP Username, and SMTP Password — and try sending the test email again.