This is pretty common in WordPress sites. If your site has user registration or a login system, you’ll usually want to swap out the default WordPress logo and show your own logo on the login page instead.
It can feel pretty hard if you don’t know how to do it. But don’t worry — I’ll show you some very easy steps to change the logo in just a few minutes.
There are many ways to do this, but I’ll make it really simple so that anyone — whether you know nothing about WordPress or just a little — can follow along easily.
The easy way: Using plugin
First, we’ll do this using a WordPress plugin, which is the simplest way in my experience. I’ve used this method on many websites. The plugin is called Custom Login Logo, and I find it very user-friendly and easy to use.
First of all, from your WordPress dashboard, click on Add New Plugin. Then search for Custom Login Logo, install it, and activate the plugin by Hakik Zaman. In some cases, the plugin version might not be compatible with your WordPress version, but I didn’t face any issues. So I’m happy to go with this plugin.
After that, you’ll see a new menu under WordPress Settings called Custom Login Logo. Just go to Settings → Custom Login Logo.
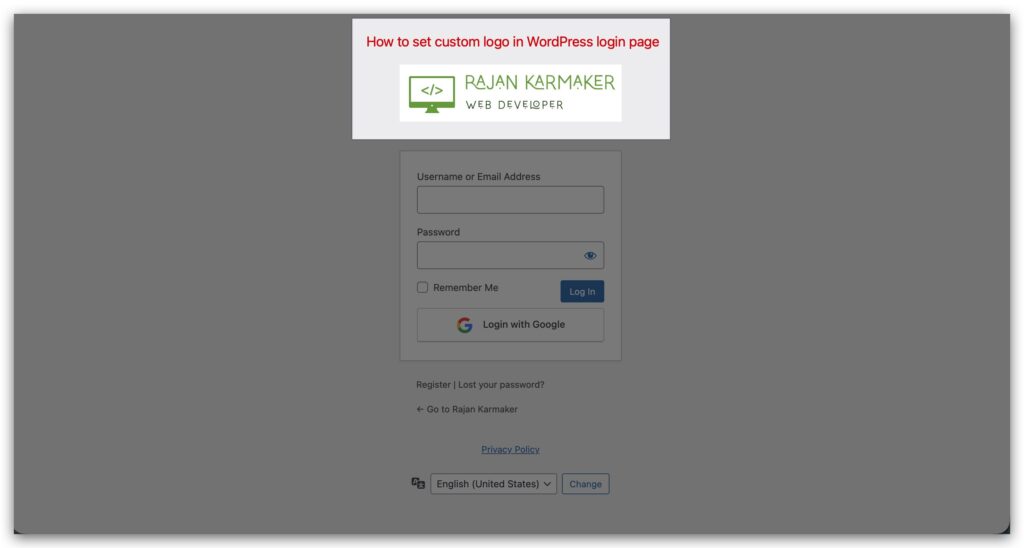
Click the Upload Logo button and choose your desired logo. You can either select one from your media library or upload a new one from your device.
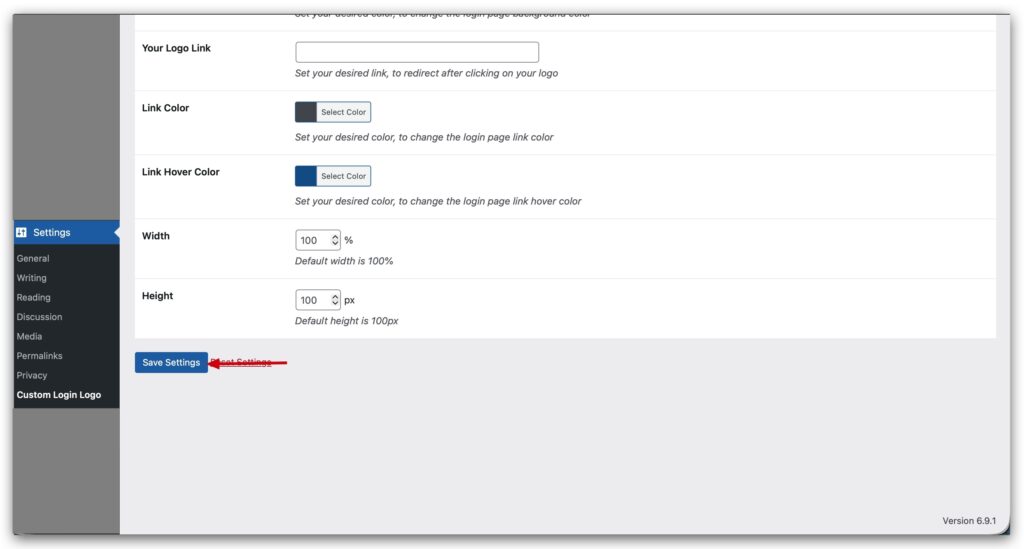
Once the upload is complete, there’s just one more step. Click the Save Settings button — and that’s it! Super simple.
using code: programmatically
Using code is also simple. Go to your Theme File Editor, select your active theme, and open the functions.php file. Scroll to the very bottom and paste the code below. And hit the Update File button and DONE!